![]()
I recently ordered a Raspberry Pi 3 to evaluate it for both home automation and education purpose. It is quite an amazing piece of hardware for under $40, and there are tons of open source software available.
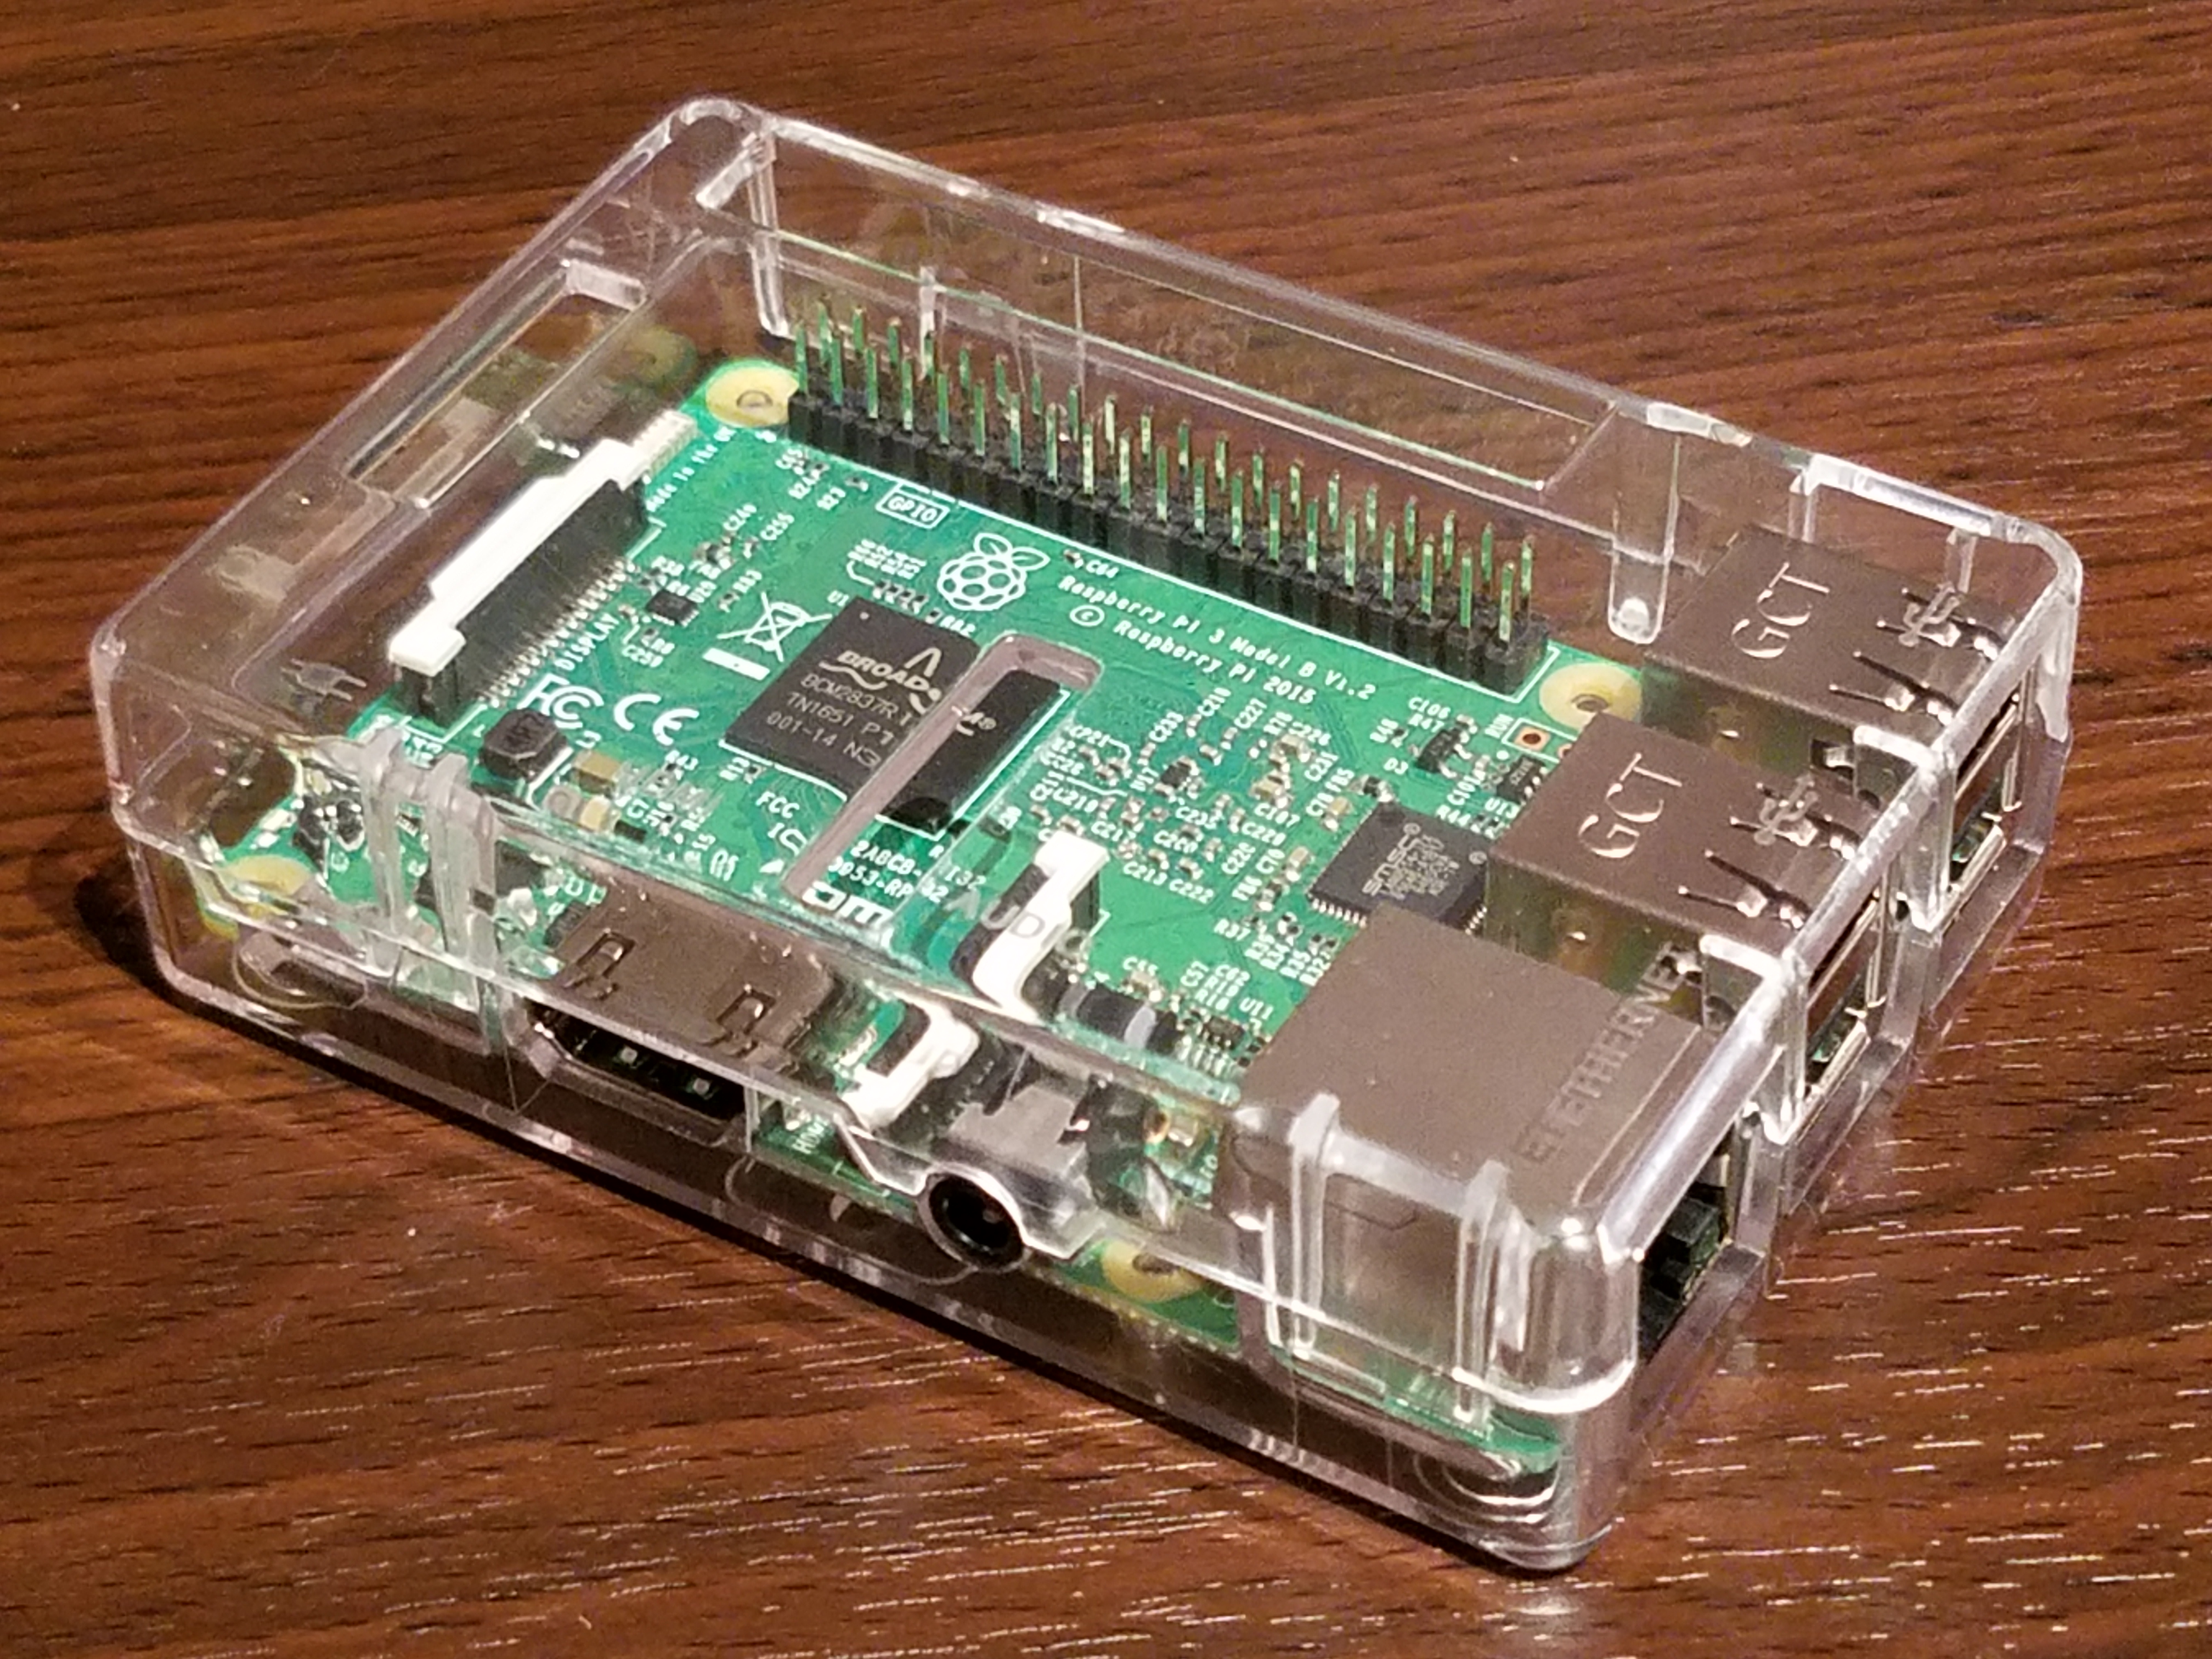
This is what it looks like when it arrives, it comes in small little box and the Pi is inside a little brown bag. I also purchased a clear case for it, and it fit perfectly and all the ports are accessible. It is really cool looking!


So what is a Raspberry Pi 3?
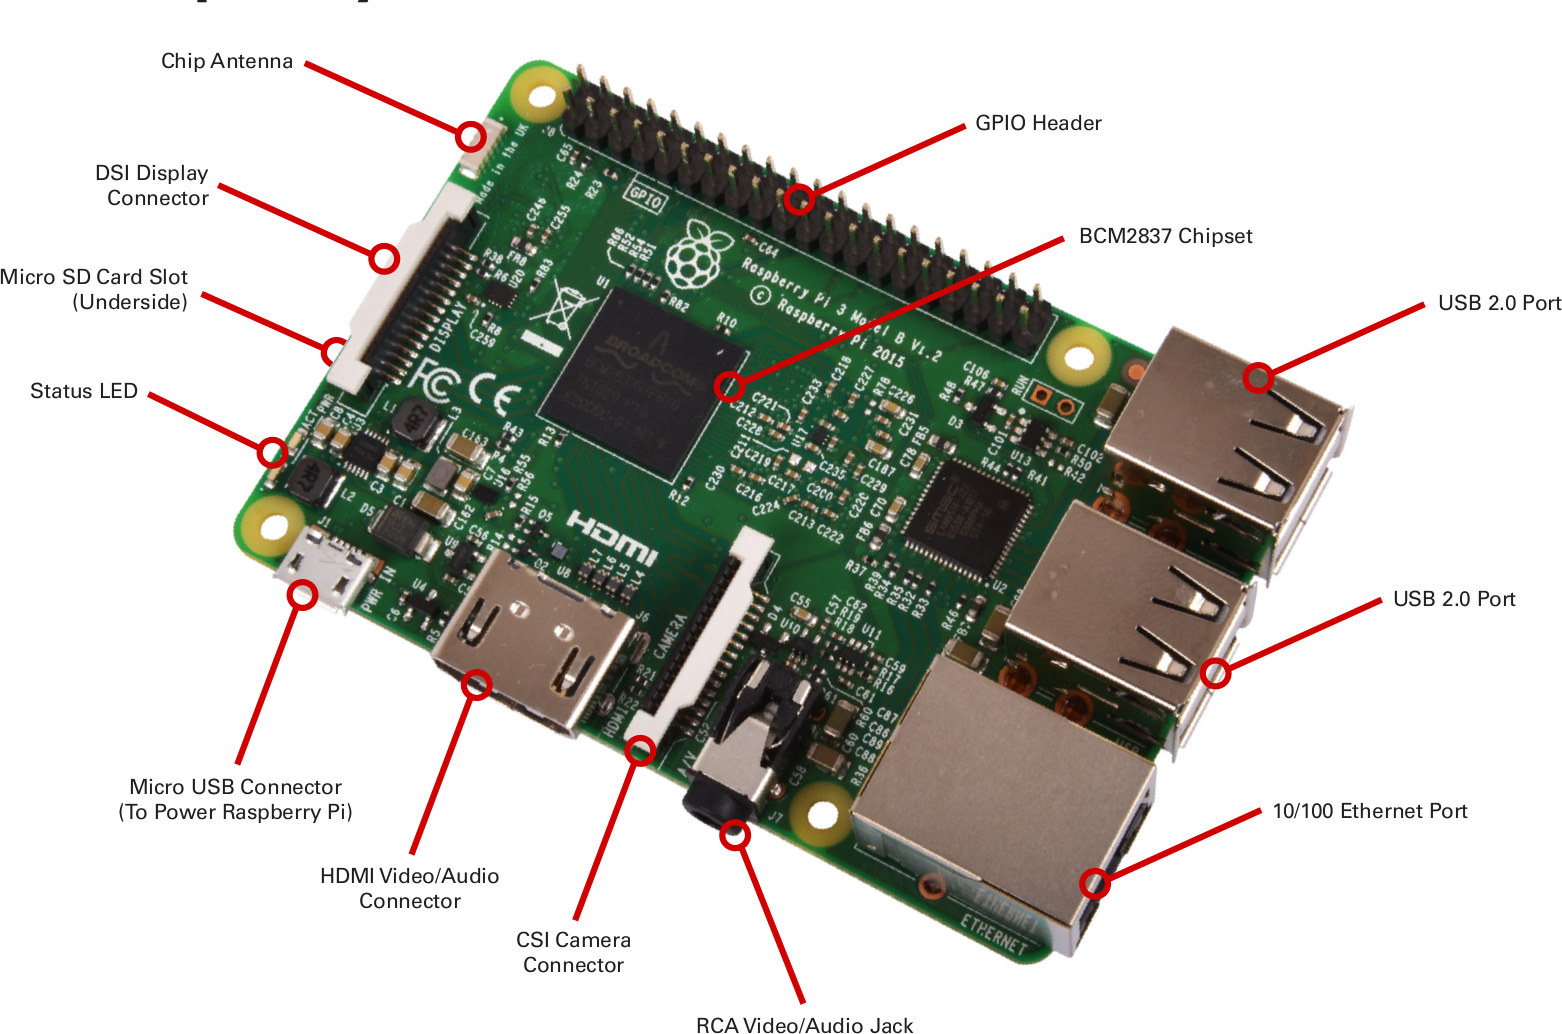
It is basically a computer with a very small footprint and a pretty impressive specification.
- A 1.2 GHz 64 bit quad-core ARMv8 CPU
- VideoCore IV 3D graphics core
- Micro SD card slot
- build in 802.11n Wireless LAN
- Ethernet port
- Camera Interface (CSI)
- Display Interface (DSI)
- Bluetooth 4.1
- 4 USB ports
- HDMI port
- 3.5mm audio jack and composite video
- Camera Interface (CSI)
- Display Interface (DSI)
- 40 GPIO pins
It measure about 3 1/2 inch in width, 2 1/4 inch in length, and 1 inch in height. Here is a detail view:
I will be doing a number of projects with the Raspberry Pi, but to start, I will provide the few quick steps to get this Raspberry Pi online.
What else do you need? to get started, I have the following things ready:
- A monitor with a HDMI input
- a HDMI cable
- a USB keyboard and mouse
- a micro usb power supply
- and a micro SD card
Here are the 3 simple steps to get your Pi online and operational
Step 1 – Get NOOBS into the micro SD card
Format your micro SD card and setup the micro SD card with NOOBS. You can download the latest version of NOOBS here, and follow the installation instruction. Once it is downloaded, you just need to copy the files to the micro SD card.
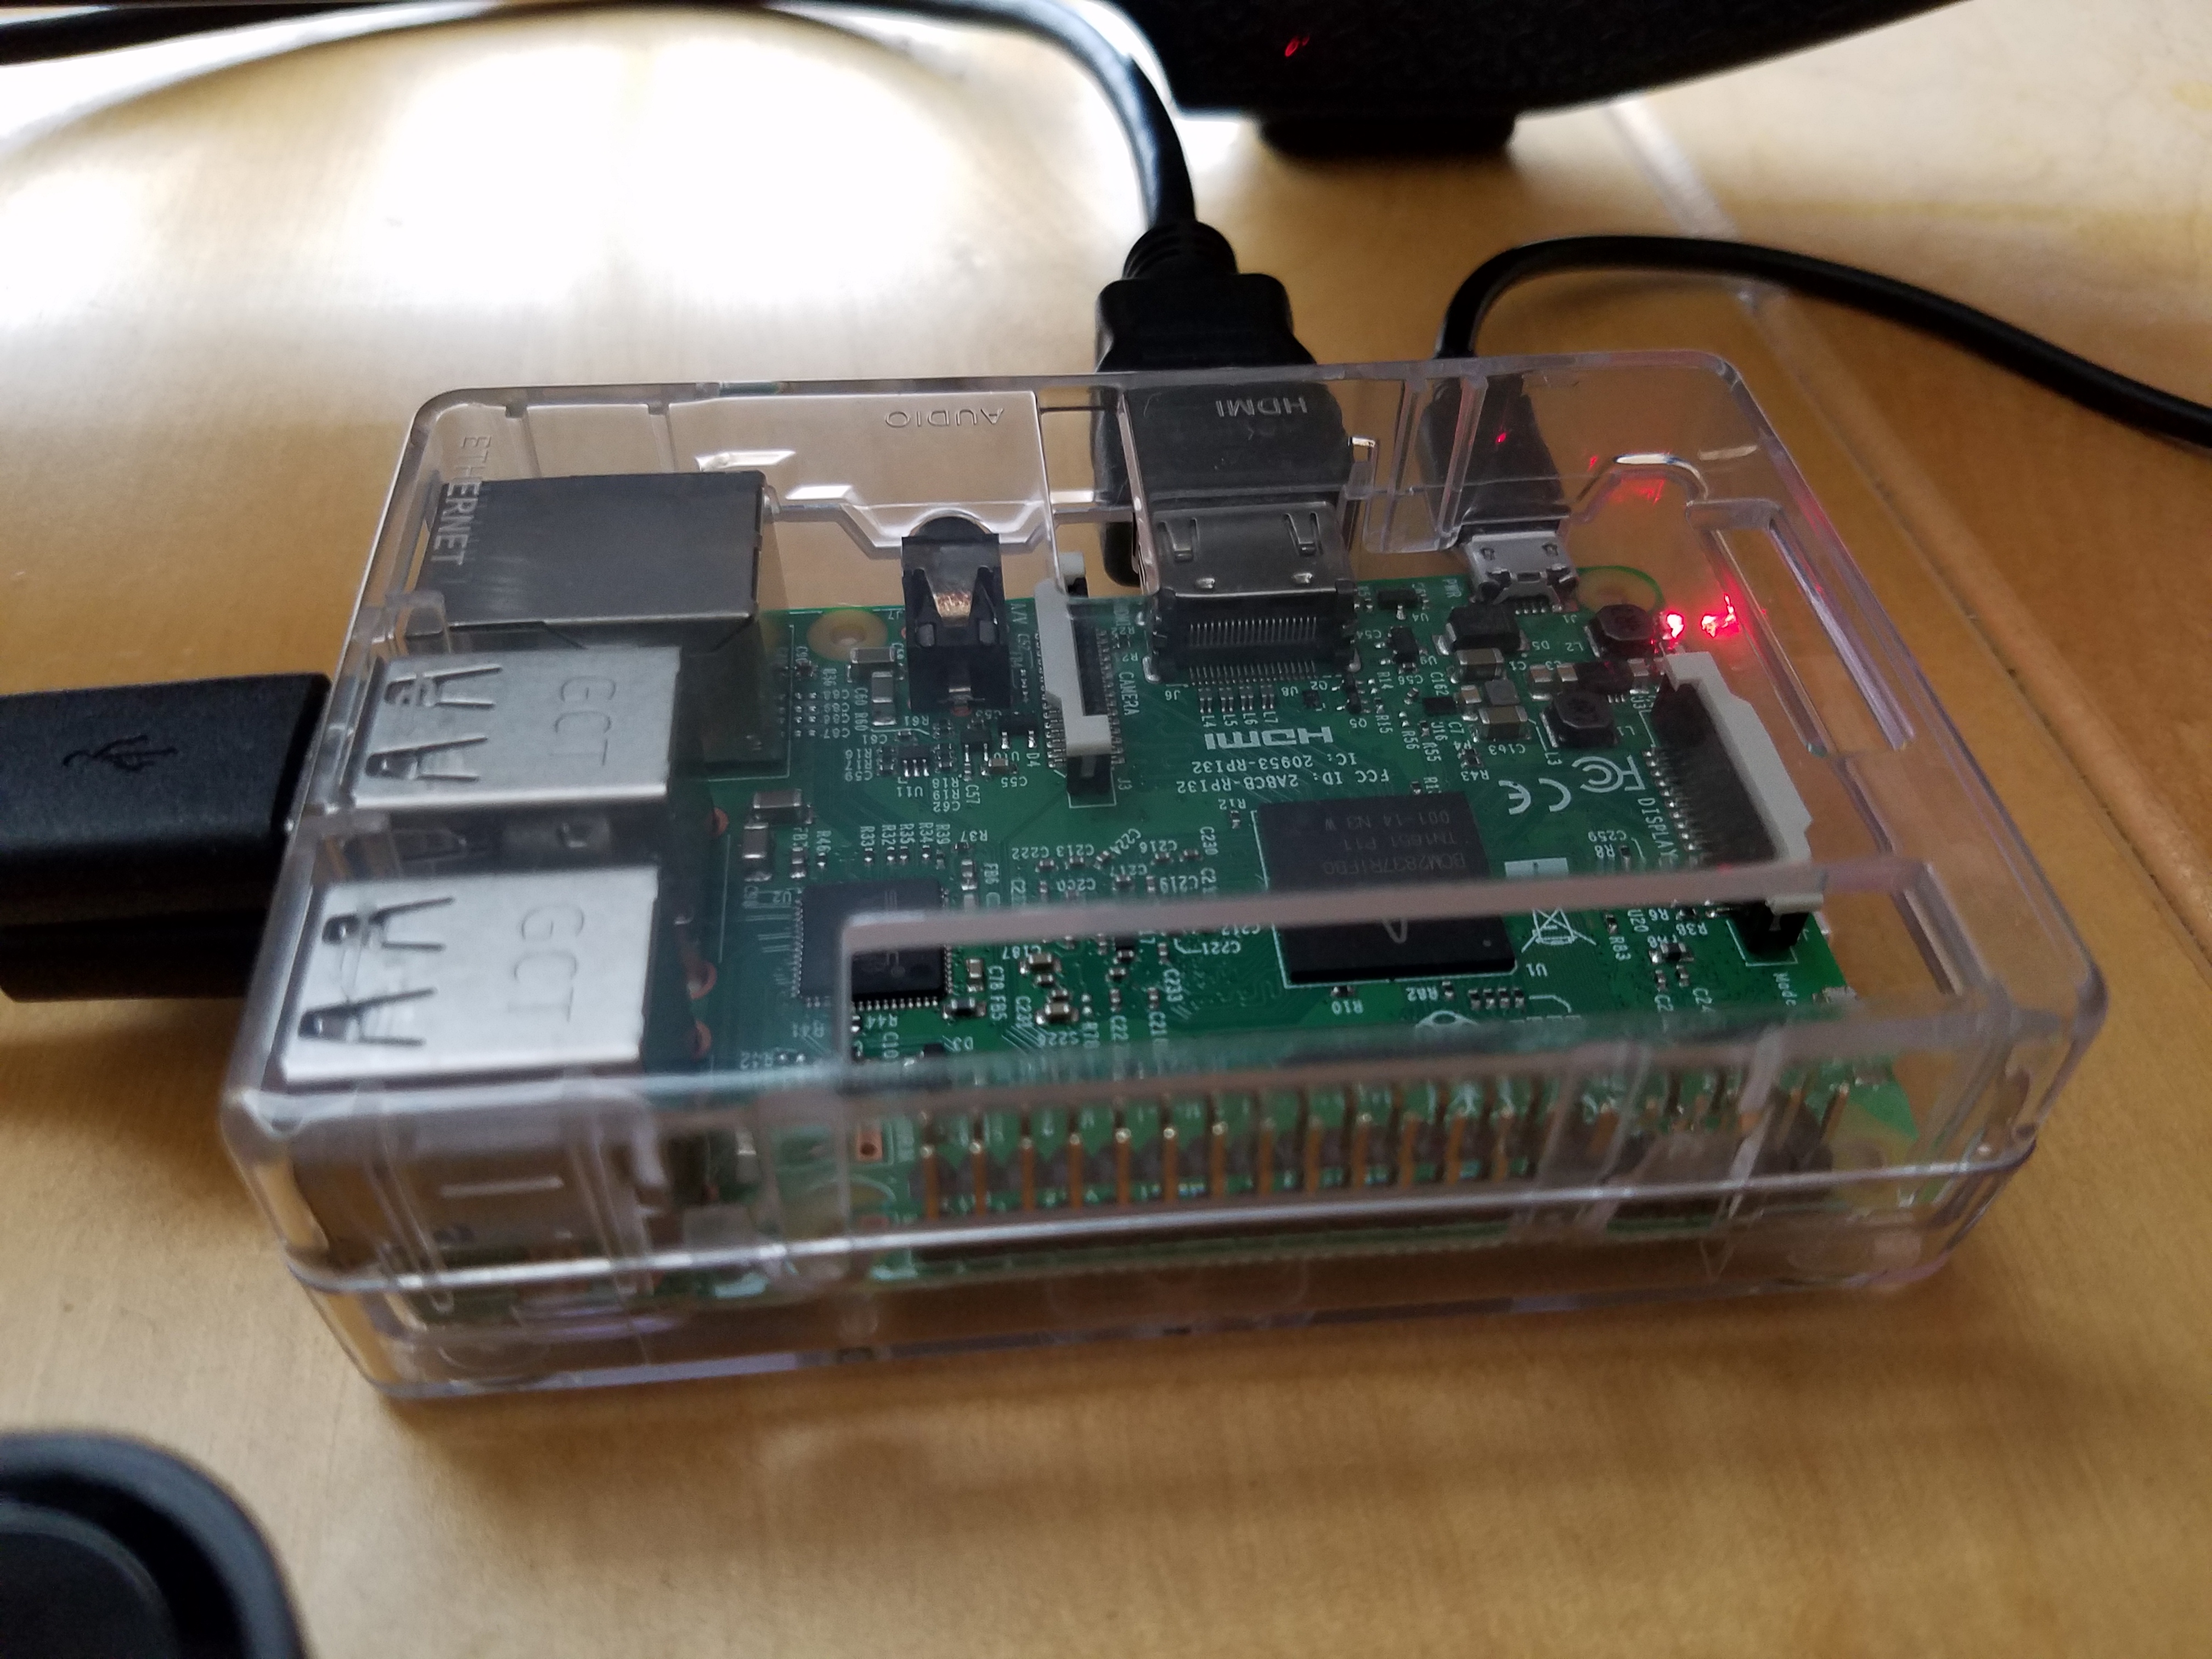
Step 2 – Connect everything together with the Pi
- Insert the micro SD card to the Pi
- Plug in monitor with HDMI cable, USB keyboard and mouse, and the micro USB power cable.
- The Pi should start itself up and the first thing it will ask you to connect to your WIFI network. Follow the instruction and your Pi should be online and connected to the internet
Step 3 – Choose and install an OS, in my case, I installed Raspbian
This will take a bit of time, but it is relatively straight forward. Once it is completed, you will see a graphical interface on your screen.
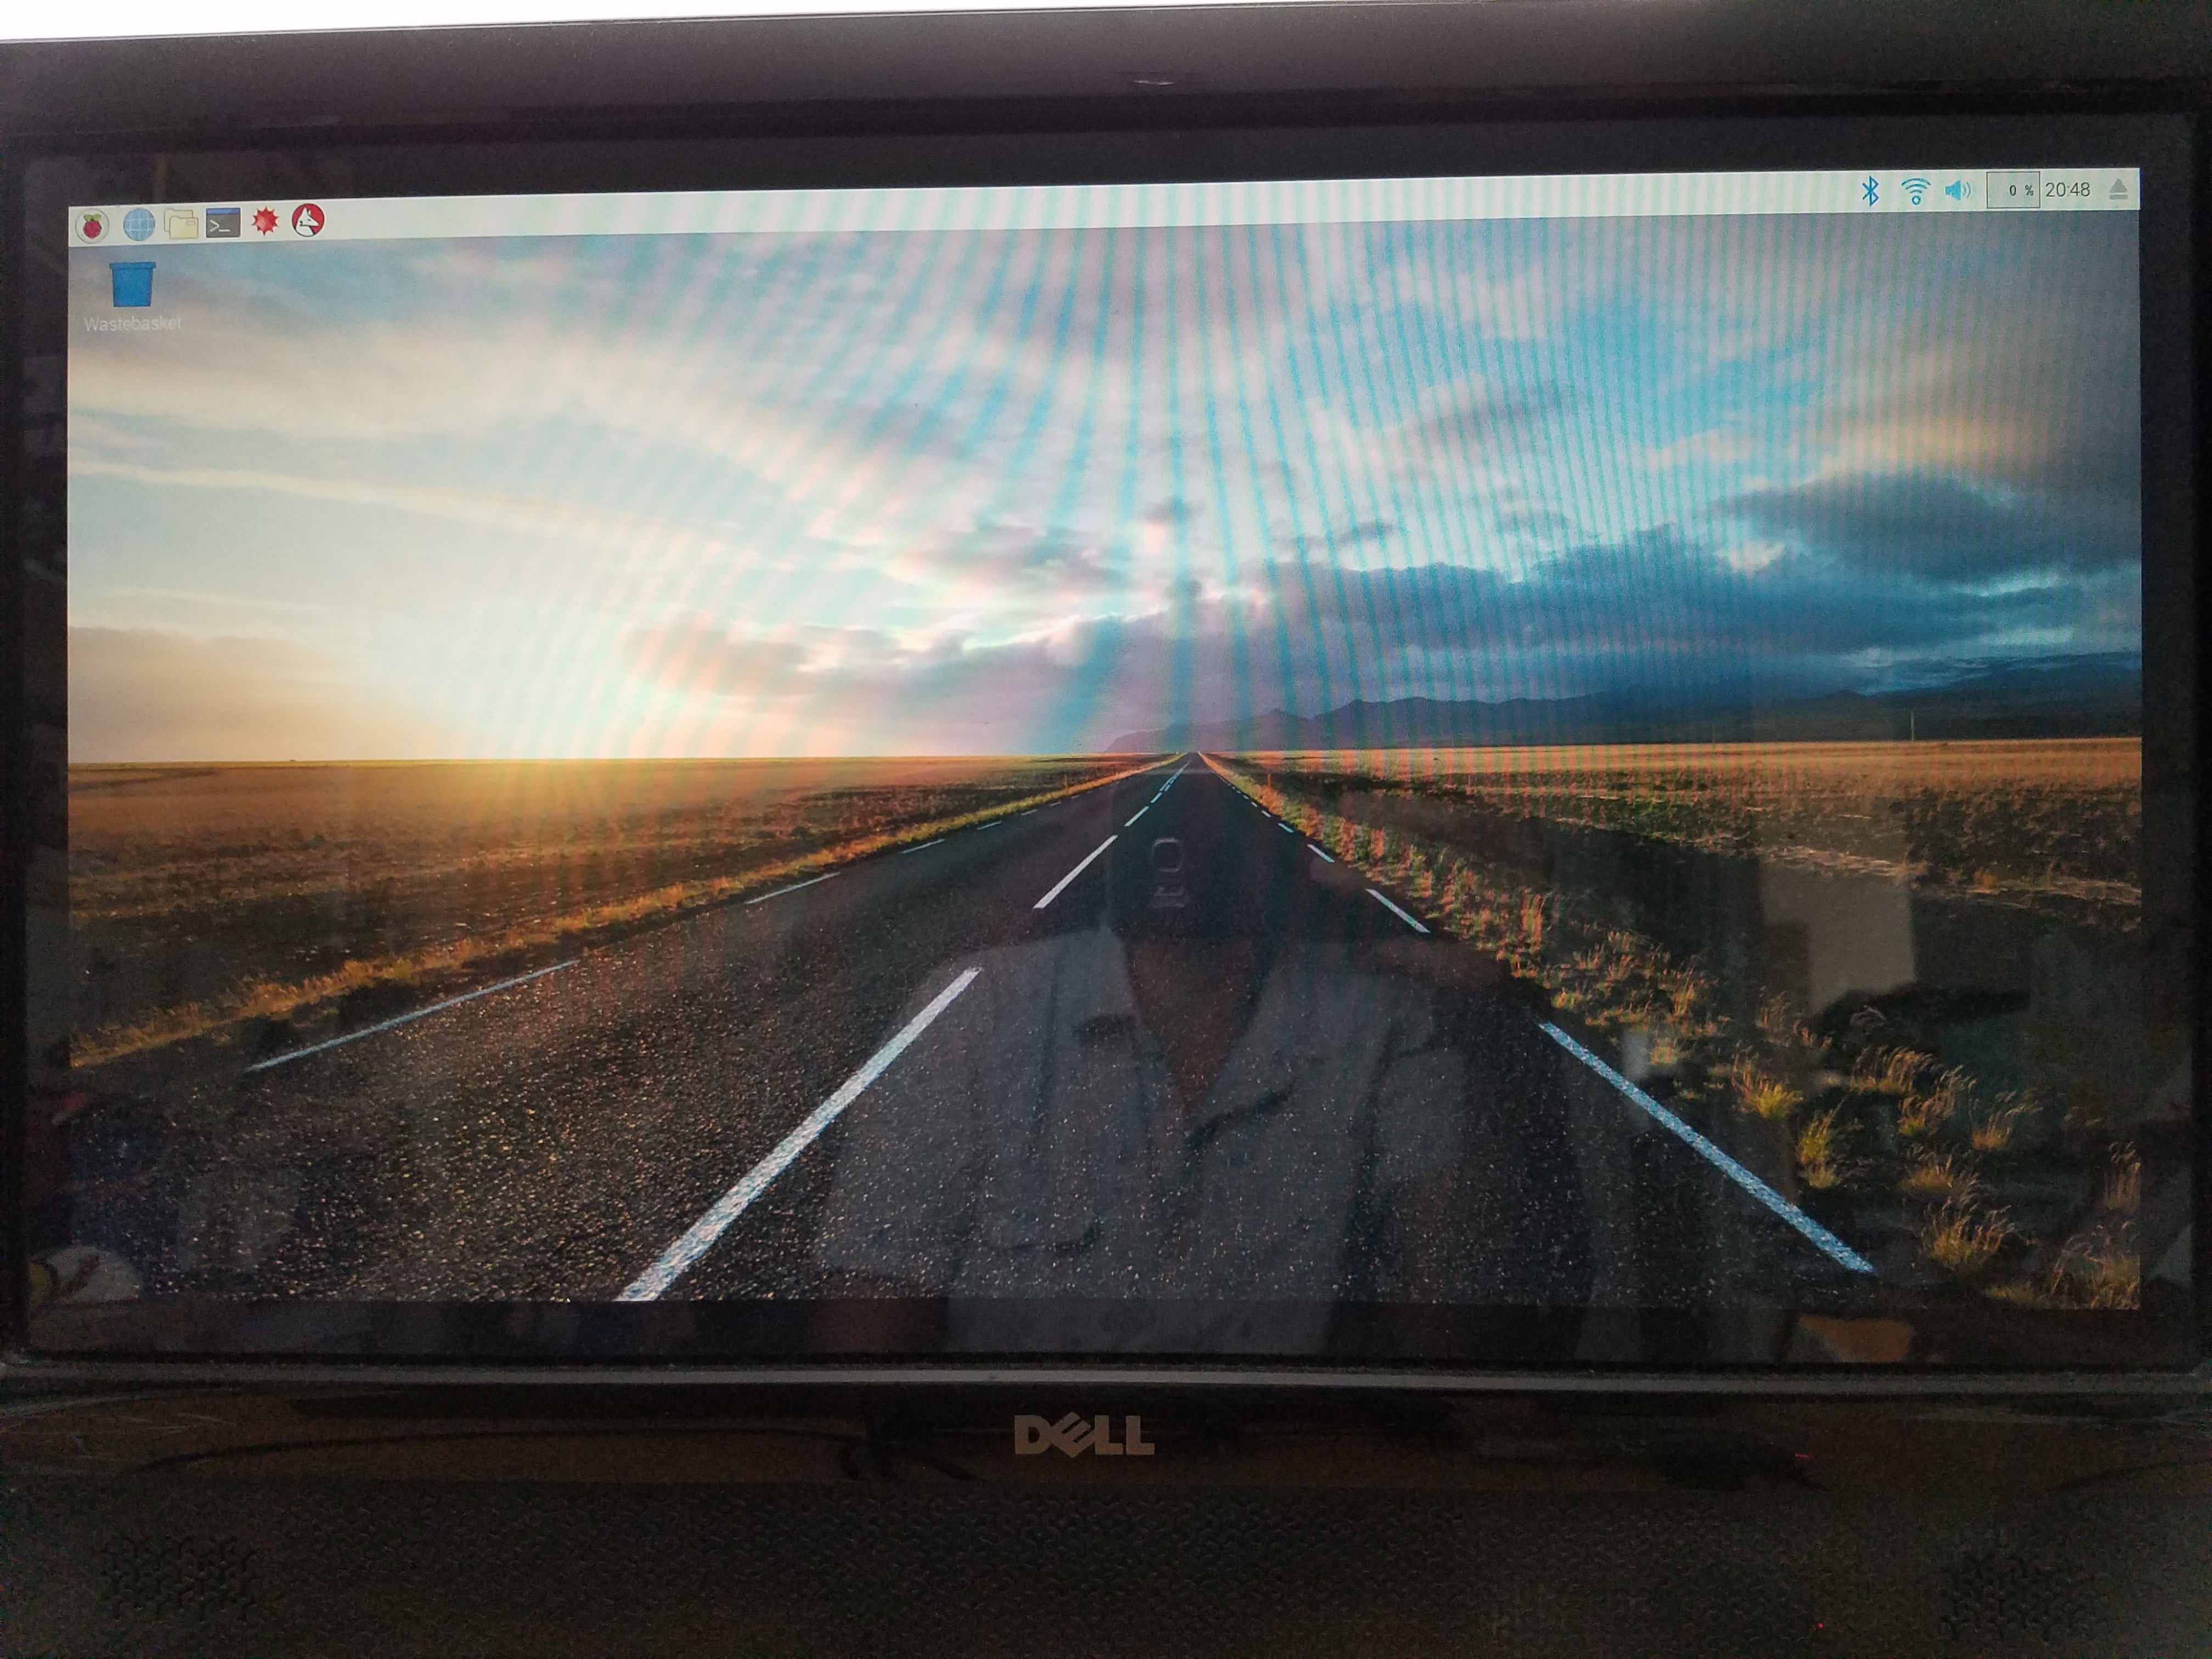
Congratulation! Your Raspberry Pi is now online and ready to use.
If you are looking for more details instruction, there are plenty available on the internet, so I’m not going to reinvent the wheel. I would recommend this step by step instruction in Github the easiest to follow.
Most people would want to turn this into a “headless” setup, meaning that you can remote into the Raspberry Pi and you can get rid of the monitor, keyboard and mouse. This will allow you to place your Pi anywhere like even on a robot that maybe running around the house 😉
Headless Setup – here is all you need
- Remote Terminal Interface via SSH : you need some client software that you can SSH into the Pi, I use Putty, it is pretty simple to use. This will give the “Terminal” interface.
- Remote GUI Interface via VNC: you do need to install both a component on the Pi, and also a client software that you can remotely connect.
There are many detail instruction out there, but I find this simple instruction by the Amazon Alexa sample app in Github the most straight forward.